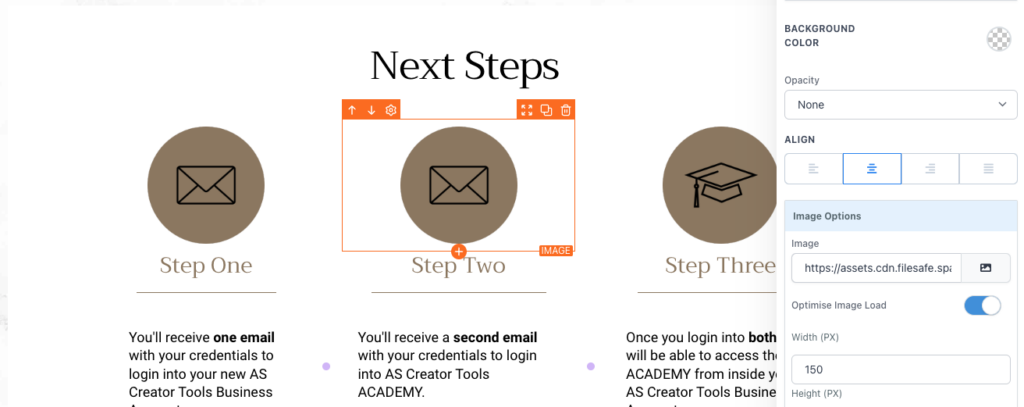
Creating Custom Icons play a crucial role in enhancing the visual appeal and user experience of your AS Creator Tools Website. With Canva’s intuitive design platform, you can easily create custom icons that align perfectly with your brand and website’s aesthetics. With our Branding Guides Templates on hand that every user receives when they sign up for AS Creator Tools, you can switch the existing icons for a more unique style.
In this step-by-step guide, we’ll walk you through the process of creating stunning custom icons using Canva, empowering you to take your AS Creator Tools website to the next level.
Step 1: Sign in to Canva and Create your Custom Icons
- Open Canva in your web browser and sign in to your account (or create a new account if you don’t have one. Get 30 day trial of the pro account using out link HERE).
- Click on the “Create a design” button and select the custom dimensions suitable for your icon. Common icon sizes include 100×100 pixels.

Step 2: Choose a Background Shape or Transparent Canvas
- Once you’ve created your design, choose a background shape for your icon. You can select from Canva’s pre-designed shapes or opt for a transparent canvas.
- To add a shape, click on the “Elements” tab on the left sidebar, choose “Shapes,” and select the shape that best suits your icon’s purpose.

Step 3: Customize the Icon’s Appearance
- Modify the shape’s color to match your website’s color scheme. Click on the shape to bring up the editing options, then choose a color from the color palette of your brand and enter your custom color’s hex code.
- Adjust the size of the shape by dragging the corners or using the size options in the editing panel.

Step 4: Add Icons, Illustrations, or Text
- To make your icon more meaningful and unique, add icons, illustrations, or text elements to the design.
- Click on the “Elements” tab and explore the various categories to find relevant icons or illustrations for your AS Creator Tools website.
- You can also include text elements by clicking on the “Text” tab and selecting a font style, size, and color that aligns with your brand.


Step 5: Arrange and Align Elements of your Custom Icons
- Arrange the different elements of your icon to create a visually pleasing composition. Click on an element, then use the arrow keys or drag it to adjust its position.
- Utilize Canva’s alignment tools to ensure the elements are properly aligned, centered, or evenly spaced.
Step 6: Download and Save Your Custom Icon
- Once you’re satisfied with your custom icon, click on the “Download” button located at the top right corner of the Canva editor.
- Select your preferred file format (PNG or SVG).
- You are going to need Canva Pro to be able to download your icons with transparent background. Use our link to get 30 day trial of Canva Pro HERE.
- Save the downloaded icon to a location on your computer for easy access.

Step 7: Upload and Use Your Custom Icon in AS Creator Tools Website Builder
- Open your AS Creator Tools website builder and navigate to the section or image element where you want to use your custom icon.
- Look for an option to upload or add an image/icon. Select your custom icon file from your computer and upload it.
- Resize or position the icon as desired within the AS Creator Tools website builder.
- Save your changes and preview your AS Creator Tools website to see your custom icon in action.

Congratulations! You’ve successfully created custom icons using Canva and integrated it into your AS Creator Tools website builder. By following this step-by-step guide, you can now effortlessly design and personalize icons that reflect your brand’s identity and enhance the overall visual appeal of your website.
Get creative, experiment with different shapes, colors, and elements to make your AS Creator Tools.
Level up your AS Creator Tools experience today! Unleash your creativity and optimize your workflow with our powerful suite of tools. Get started now and unlock your full potential as a creator!


